How to Prepare a Molcajete: The Ultimate Step-by-Step Guide for Beginners
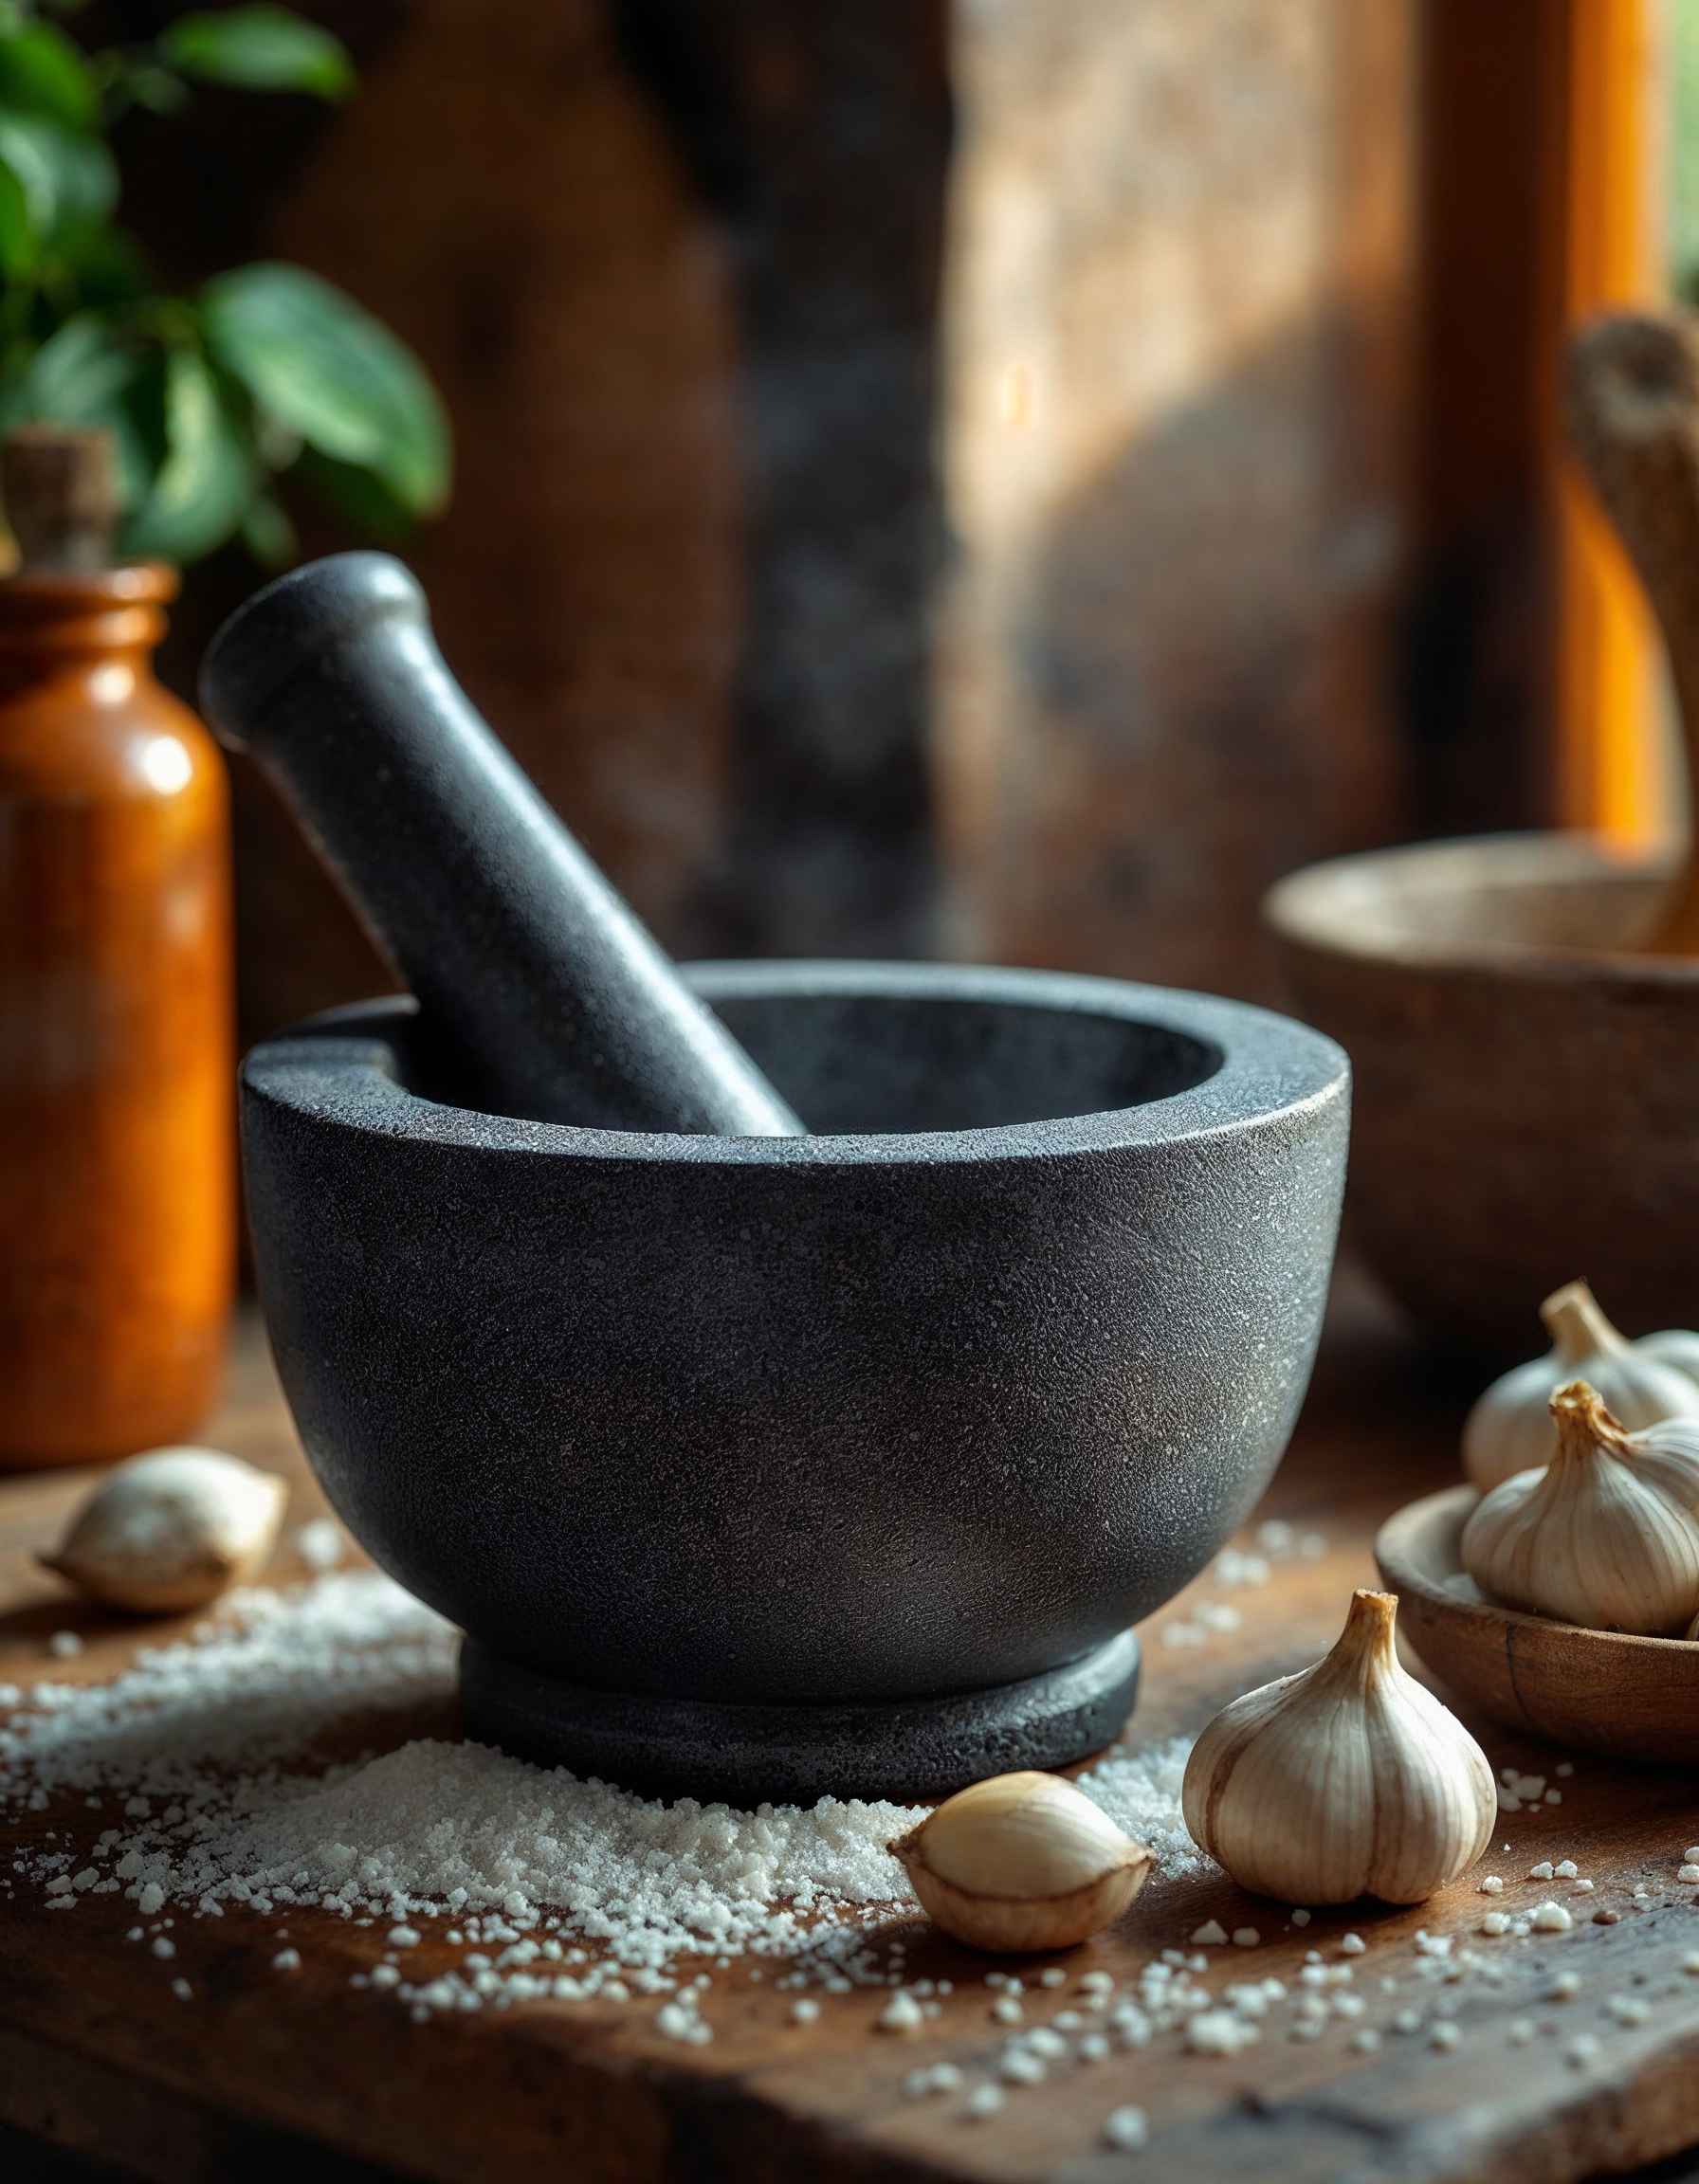
A molcajete is a traditional Mexican mortar and pestle made of volcanic rock, but before you can enjoy its authentic grinding capabilities, you must learn how to prepare a molcajete. This involves seasoning the tool to remove grit, ensure cleanliness, and enhance its performance for making salsas, guacamole, and more.
The seasoning process eliminates debris, fine grit, and loose volcanic particles left from manufacturing. By following a simple yet thorough preparation routine, you can transform your molcajete into a reliable kitchen tool that enhances your culinary creations. Seasoning not only protects your ingredients from contamination but also primes the molcajete for efficient and flavorful grinding.
In this guide, we’ll walk you through the essential steps for preparing your molcajete, discuss tools and ingredients you’ll need, and share tips to ensure it remains in excellent condition for years to come.
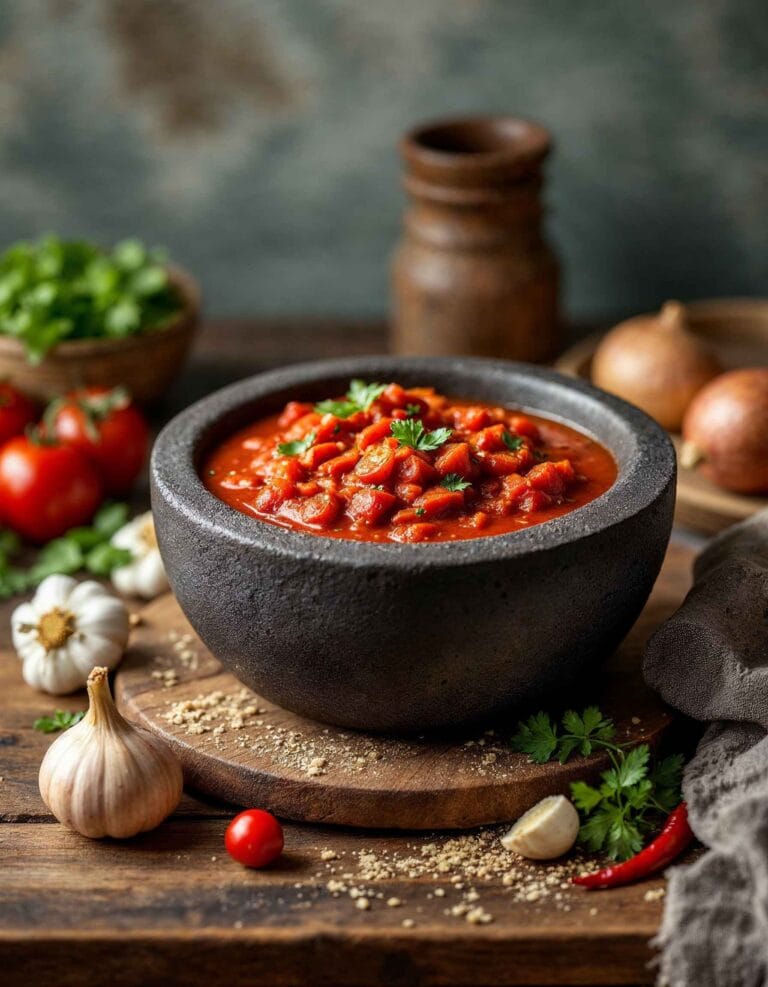
Discover step-by-step instructions for preparing a molcajete-based recipe.
Tools and Ingredients Needed
To properly prepare a molcajete for first-time use, you’ll need a few basic tools and ingredients. These ensure the seasoning process is thorough and your molcajete is safe for food preparation.
Materials Required
- Uncooked white rice: This acts as an abrasive to remove fine particles of volcanic rock and polish the surface.
- Coarse salt: Often combined with garlic or other ingredients for the final stages of seasoning.
- Water: Used for rinsing and creating a paste during seasoning.
- Garlic cloves: Optional, but helps to infuse the molcajete with a pleasant aroma while deep-cleaning.
- Sponge or soft brush: For gentle cleaning of the surface without damaging the stone.
Optional Tools
- Soft cloth or towel: For drying the molcajete thoroughly after rinsing.
- Wooden or plastic scraper: Useful for removing debris without scratching the surface.
Choosing the Right Ingredients
Some people use different combinations of materials, like salt-only or rice-only methods. Both are effective, but combining rice and salt with garlic can offer a more comprehensive preparation. Avoid using soap or harsh chemicals, as these can leave residue that alters the flavor of your food.
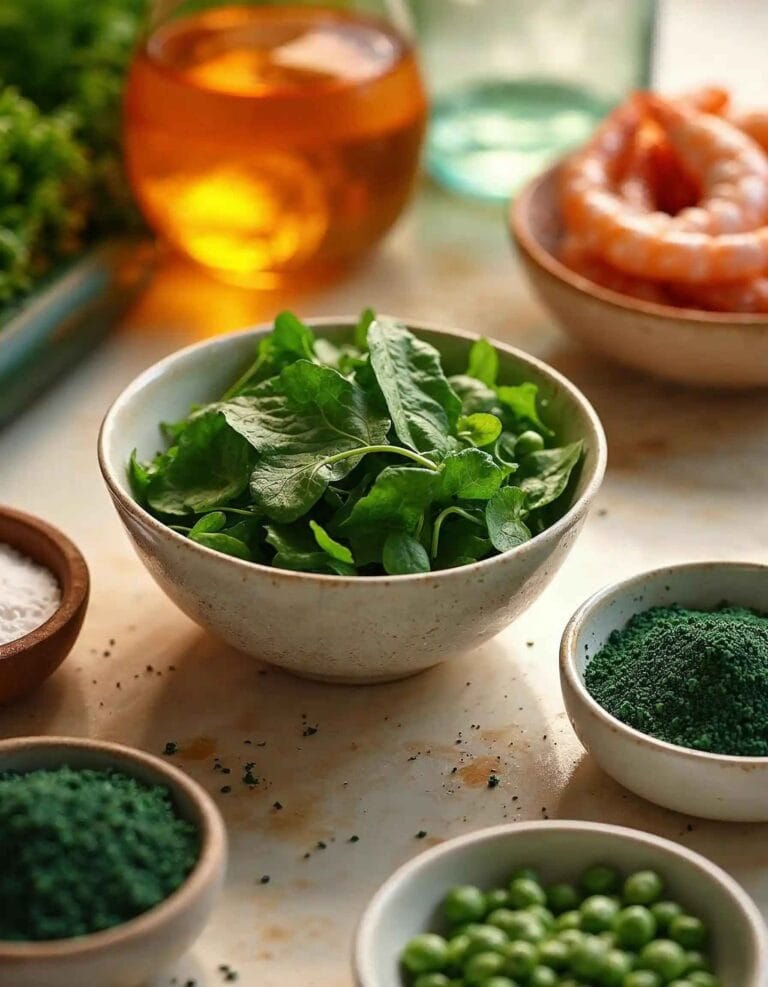
Explore common and creative ingredients for molcajete dishes.
Step-by-Step Guide to Preparing a Molcajete
Properly seasoning a molcajete is essential to ensure it is safe, clean, and ready for food preparation. Follow this step-by-step guide to get your molcajete ready for use.
Step 1 – Initial Cleaning
Before starting the seasoning process, clean your molcajete to remove any loose debris or dust from the manufacturing process.
- Rinse thoroughly with water: Hold the molcajete and tejolote (pestle) under running water to wash away surface dirt.
- Scrub with a brush or sponge: Use a soft brush or sponge to gently clean the surface without soap. Avoid using dish detergents, as they may leave residue.
- Let it air dry: After rinsing, allow the molcajete to dry completely to avoid slippery handling during the next steps.
Step 2 – Grinding Dry Rice
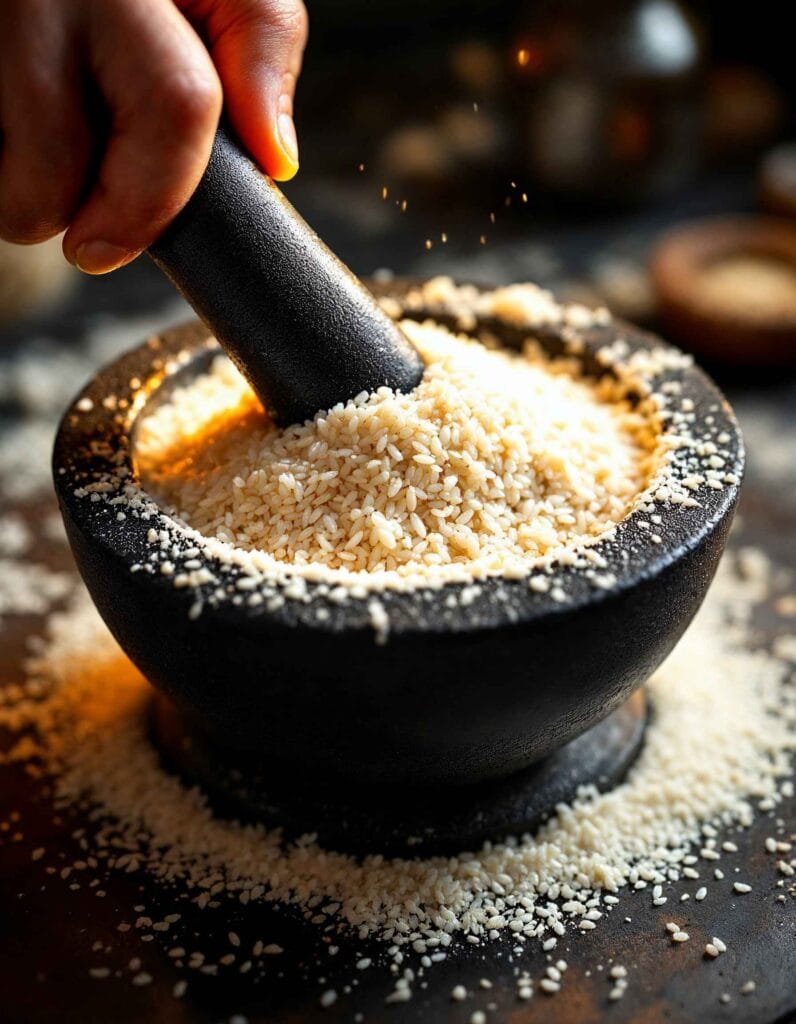
Grinding rice is the most important step for removing fine volcanic grit from the porous surface.
- Add a handful of white rice: Pour uncooked rice into the molcajete, enough to cover the base.
- Grind thoroughly: Use the tejolote to grind the rice into a fine powder. Move the pestle in circular motions, applying firm but controlled pressure.
- Check the rice powder: If the powder appears gray or dark, it indicates the presence of stone particles. Discard the powder and repeat the process with fresh rice until the ground rice remains white.
- Repeat as needed: This step may need to be repeated three to five times to fully smooth the interior surface.
Step 3 – Adding Wet Ingredients for Deep Cleaning
Once the rice grinding no longer produces gray powder, it’s time to finish seasoning with salt and garlic.
- Create a paste: Combine a few cloves of garlic, coarse salt, and a small amount of water in the molcajete.
- Grind into a paste: Use the tejolote to mash the mixture thoroughly, ensuring it covers all surfaces. This step not only cleans but also infuses the stone with a natural aroma.
- Leave it overnight (optional): For a deeper seasoning, let the garlic-salt paste sit in the molcajete overnight before rinsing.
Step 4 – Rinsing and Drying
After completing the seasoning process, rinse your molcajete and let it dry completely.
- Rinse under warm water: Use your hands or a soft brush to remove any remaining paste without using soap.
- Air dry completely: Leave the molcajete and tejolote in a well-ventilated area to dry naturally.
Your molcajete is now seasoned and ready to use!
Tips for Proper Use and Maintenance
A well-seasoned molcajete can last for years with proper care. Follow these tips to ensure it remains in excellent condition and serves you reliably in the kitchen.
A detailed look into the core ingredients and preparation techniques.
Using Your Molcajete Effectively
- Prepare Ingredients in Small Batches: Avoid overloading the molcajete, as this can reduce grinding efficiency and spill ingredients.
- Start with Softer Ingredients: Begin with ingredients like garlic, chili, or herbs before moving to harder items like nuts or seeds. This prevents excessive wear.
- Use the Correct Technique: Employ a circular motion with steady pressure when grinding. This ensures a consistent texture and protects the surface.
- Use for Appropriate Dishes: Molcajetes are ideal for preparing salsas, guacamole, spice mixes, and moles. Avoid using it for very liquid-based recipes that might seep into the stone.
Cleaning After Each Use
To maintain your molcajete, clean it thoroughly after every use.
- Rinse Immediately: After using the molcajete, rinse it under warm water to prevent ingredients from hardening and sticking to the surface.
- Scrub Gently: Use a soft brush or sponge to remove residue. Avoid using soap, as it can seep into the porous stone and affect the taste of future dishes.
- Dry Completely: Ensure the molcajete and tejolote are completely dry before storing to prevent mold or bacterial growth.
Avoiding Damage to the Volcanic Stone
- Don’t Use Abrasive Tools: Avoid metal brushes or harsh scrubbing pads that can erode the stone’s surface.
- Avoid Sudden Temperature Changes: Exposing the molcajete to extreme heat or cold can cause cracks. For example, don’t pour boiling water into a cold molcajete.
- Limit Exposure to Acidic Foods: While the stone is durable, prolonged exposure to acidic ingredients like lime or vinegar can wear down the surface over time.
Storing Your Molcajete
- Store in a Dry Area: Keep your molcajete in a cool, dry place to prevent moisture buildup.
- Use a Protective Mat: Place a soft cloth or mat underneath the molcajete to avoid scratching your countertops.
- Avoid Heavy Stacking: Don’t stack heavy objects on top of the molcajete to prevent accidental chipping or cracking.
By following these tips, you can ensure your molcajete remains a cherished kitchen tool, ready to create authentic, flavorful dishes whenever needed.
Common Mistakes to Avoid When Preparing a Molcajete
While seasoning a molcajete is straightforward, there are common mistakes that can impact its performance and longevity. Avoid these pitfalls to ensure your molcajete is properly prepared and maintained.
Skipping the Seasoning Process
- Leaving the Molcajete Unprepared: Using a molcajete without seasoning can result in grit or small stone particles contaminating your food.
- Rushing the Process: Proper seasoning requires patience. Grinding rice multiple times and using salt or garlic paste ensures the surface is smooth and ready for use.
- Assuming It’s Ready to Use Out of the Box: Even if a molcajete appears clean, it still contains loose volcanic rock particles from manufacturing that must be removed.
Using Harsh Cleaning Agents
- Soap or Detergents: The porous surface of the molcajete can absorb soap, leading to an unpleasant taste in food.
- Harsh Scrubbing Tools: Metal brushes or abrasive pads can scratch or erode the stone, weakening its structure. Stick to soft brushes or sponges.
- Skipping Rinsing After Use: Failing to rinse the molcajete thoroughly after seasoning or cooking can lead to residue buildup.
Incorrect Grinding Techniques
- Applying Excessive Force: Pressing too hard when grinding can damage the molcajete, especially during the seasoning process.
- Using the Wrong Motion: Avoid pounding or hitting the surface. Instead, use circular grinding motions for effective and even seasoning.
- Overloading the Molcajete: Working with too many ingredients at once can lead to inefficient grinding and potential spills.
Neglecting Proper Drying
- Storing While Damp: Not allowing the molcajete to dry completely after cleaning can lead to mold, bacteria, or even cracking over time.
- Drying in Direct Sunlight: Extended exposure to direct sunlight can cause the stone to dry unevenly, leading to potential cracks.
Using the Molcajete for Inappropriate Foods
- Preparing Highly Liquid Dishes: Liquids can seep into the porous surface, making the molcajete harder to clean.
- Frequent Use with Acidic Ingredients: Over time, acidic foods like lime, vinegar, or tomatoes can wear down the stone’s integrity.
By avoiding these mistakes, you can ensure your molcajete remains in excellent condition and performs as intended. With proper care, it will become an invaluable tool in your kitchen for years to come.
FAQs About Preparing a Molcajete
Here are answers to common questions about preparing and seasoning a molcajete for the first time.
How do you prepare a molcajete for the first time?
To prepare a molcajete for first-time use, you must season it to remove fine volcanic grit and prime it for grinding. Begin by thoroughly rinsing the molcajete with water to remove visible debris. Then grind dry white rice in batches until the powder remains white, which indicates the surface is smooth and clean. Finish by grinding a mixture of garlic, coarse salt, and water to further clean and season the stone. Rinse thoroughly and let it dry completely before use.
Does a molcajete need to be seasoned?
Yes, a molcajete must be seasoned before use. The seasoning process ensures that any loose volcanic particles from manufacturing are removed and the grinding surface is smoothed. It also helps infuse the stone with natural aromas, enhancing the flavor of the foods you prepare. Skipping this step can result in a gritty texture in your dishes.
What happens if you don’t cure a molcajete?
If you don’t cure a molcajete, fine particles of volcanic rock may mix with your food, affecting both its texture and taste. Unseasoned molcajetes can also have a rough surface that makes grinding less efficient. Additionally, skipping the curing process can lead to uneven wear on the stone, reducing its durability over time.
Should I cure my molcajete with salt or rice?
Both methods are effective, but the best results often come from using a combination of both. Grinding dry white rice removes loose grit and polishes the surface, while coarse salt, especially when combined with garlic, provides a deeper cleaning and imparts a pleasant aroma. For a thorough seasoning process, start with rice and finish with a garlic-salt paste.
Conclusion : How do you prepare a molcajete
A properly prepared molcajete is an invaluable tool in the kitchen, steeped in tradition and designed to enhance your culinary creations. By seasoning your molcajete, you ensure it is free of debris and primed for grinding, delivering the authentic textures and flavors that modern appliances cannot replicate.
Through the process of cleaning, grinding rice, and finishing with a salt and garlic mixture, you not only prepare the molcajete for use but also extend its longevity. Proper maintenance, including cleaning and drying after each use, ensures that your molcajete remains a reliable and hygienic tool for years to come.
By following this guide, you’ll be ready to create delicious salsas, guacamole, and spice mixes with ease, celebrating the rich culinary heritage that the molcajete represents. Embrace this traditional technique and take your cooking to the next level!
Learn about the traditional volcanic basalt material and its benefits.

