What is the Proper Way to Clean a Grill
he proper way to clean a grill is essential for safe and flavorful cooking. Over time, grease, food particles, and carbon buildup can accumulate, posing health risks and impacting performance. Whether you own a gas, charcoal, or electric grill, keeping it clean ensures optimal functionality and extends its lifespan.
This comprehensive guide will walk you through the proper way to clean a grill, offering tailored tips for various grill types, essential tools, and expert techniques to keep your grill in top condition.
Explore creative ideas for serving BBQ shrimp that everyone will enjoy.
Key Takeaways:
- Learn the importance of regular cleaning for better taste and hygiene.
- Discover effective cleaning tools and techniques for all grill types.
- Explore safety tips, DIY solutions, and maintenance best practices.
Follow this detailed guide to achieve perfectly grilled BBQ shrimp every time.
Types of Grills
Understanding the type of grill you own is critical when determining the best cleaning method. Each grill type has unique components and cleaning requirements. Below is a breakdown of the most common grill types and their cleaning nuances:
Gas Grills
Gas grills are among the most popular choices due to their convenience. They typically feature burners, grates, and a drip tray. Regular cleaning ensures burners remain unclogged, preventing uneven heat distribution.
- Key Areas to Clean: Burner tubes, grates, grease trap, and control knobs.
- Tips: Use a wire brush to remove debris from grates and avoid using water on the burners to prevent rust.
Charcoal Grills
Charcoal grills require more manual effort but reward users with a unique smoky flavor. Ash and grease buildup can block vents, impacting airflow.
- Key Areas to Clean: Cooking grates, ash catcher, and interior walls.
- Tips: After each use, allow the ashes to cool before disposal and scrape off stuck-on food with a scraper.
Pellet Grills
Pellet grills rely on wood pellets for heat and flavor, making them versatile for grilling, smoking, and baking. However, the auger and firepot need regular attention.
- Key Areas to Clean: Grates, drip pan, firepot, and pellet hopper.
- Tips: Vacuum the firepot frequently to remove ash buildup for consistent performance.
Electric Grills
Electric grills are compact and suitable for indoor use. They are generally easier to clean, with fewer components exposed to grease.
- Key Areas to Clean: Grates, drip tray, and heating elements.
- Tips: Avoid submerging electric components in water and stick to damp cloth cleaning.
Enhance your BBQ shrimp experience with perfectly paired side dishes.
Essential Tools for Cleaning
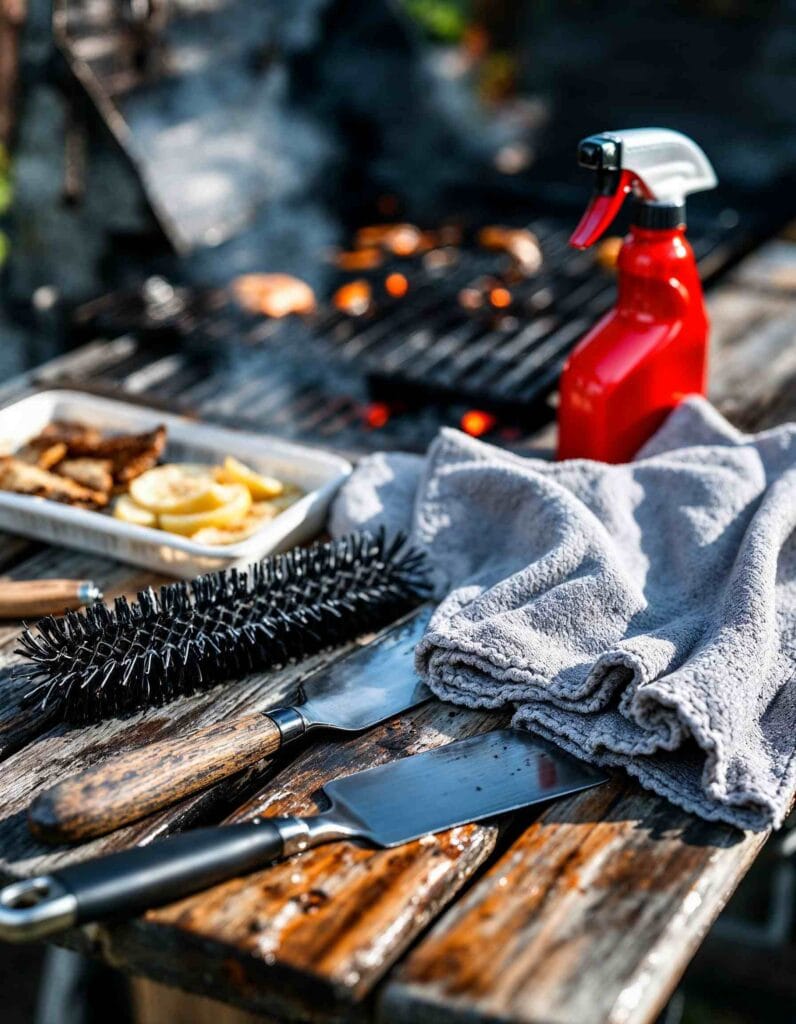
Investing in the right cleaning tools can make grill maintenance quicker and more effective. Below are must-have items for grill cleaning:
Grill Brush
A grill brush with sturdy bristles or a bristle-free design is ideal for scrubbing grates. Look for brushes with long handles to avoid burns and ensure thorough cleaning.
Scraper
Metal or plastic scrapers help tackle stubborn, burnt-on food. They are especially useful for flat grill surfaces or griddles.
Soapy Water and Degreasers
Mild soapy water is perfect for general cleaning, while specialized grill degreasers help dissolve tough grease and grime. Opt for non-toxic, food-safe products.
Microfiber Cloths
Soft microfiber cloths are excellent for wiping down grill exteriors, knobs, and surfaces without leaving scratches.
Aluminum Foil
Aluminum foil can double as a cleaning tool. Wad it into a ball and use it to scrape grates or line drip trays for easier cleanup.
Vacuum Cleaner
A shop vacuum or handheld vacuum is essential for cleaning ash and debris from pellet or charcoal grills. Ensure the grill is cool before vacuuming.
Gloves and Safety Gear
Heat-resistant gloves protect your hands while cleaning hot grates, and safety glasses shield your eyes from grease splatters.
With the right understanding of your grill type and proper tools, you’re now prepared to move on to the detailed cleaning process.
Step-by-Step Cleaning Process
Cleaning a grill may seem daunting, but breaking it down into manageable steps makes the task easier. Below is a comprehensive cleaning process applicable to most grill types:
Step 1 – Preparation
Proper preparation ensures safety and efficiency during the cleaning process.
- Turn Off the Grill: Ensure the grill is completely off. For gas grills, turn off the gas supply.
- Cool Down or Preheat: If the grill has residual heat, allow it to cool slightly but remain warm. This softens grease for easier removal.
- Gather Tools: Have your grill brush, scraper, soapy water, and gloves ready before starting.
- Remove Components: Take out the grates, drip trays, and other removable parts to clean them individually.
Step 2 – Cleaning the Grates
Grates are the primary surface where food cooks, so thorough cleaning is vital.
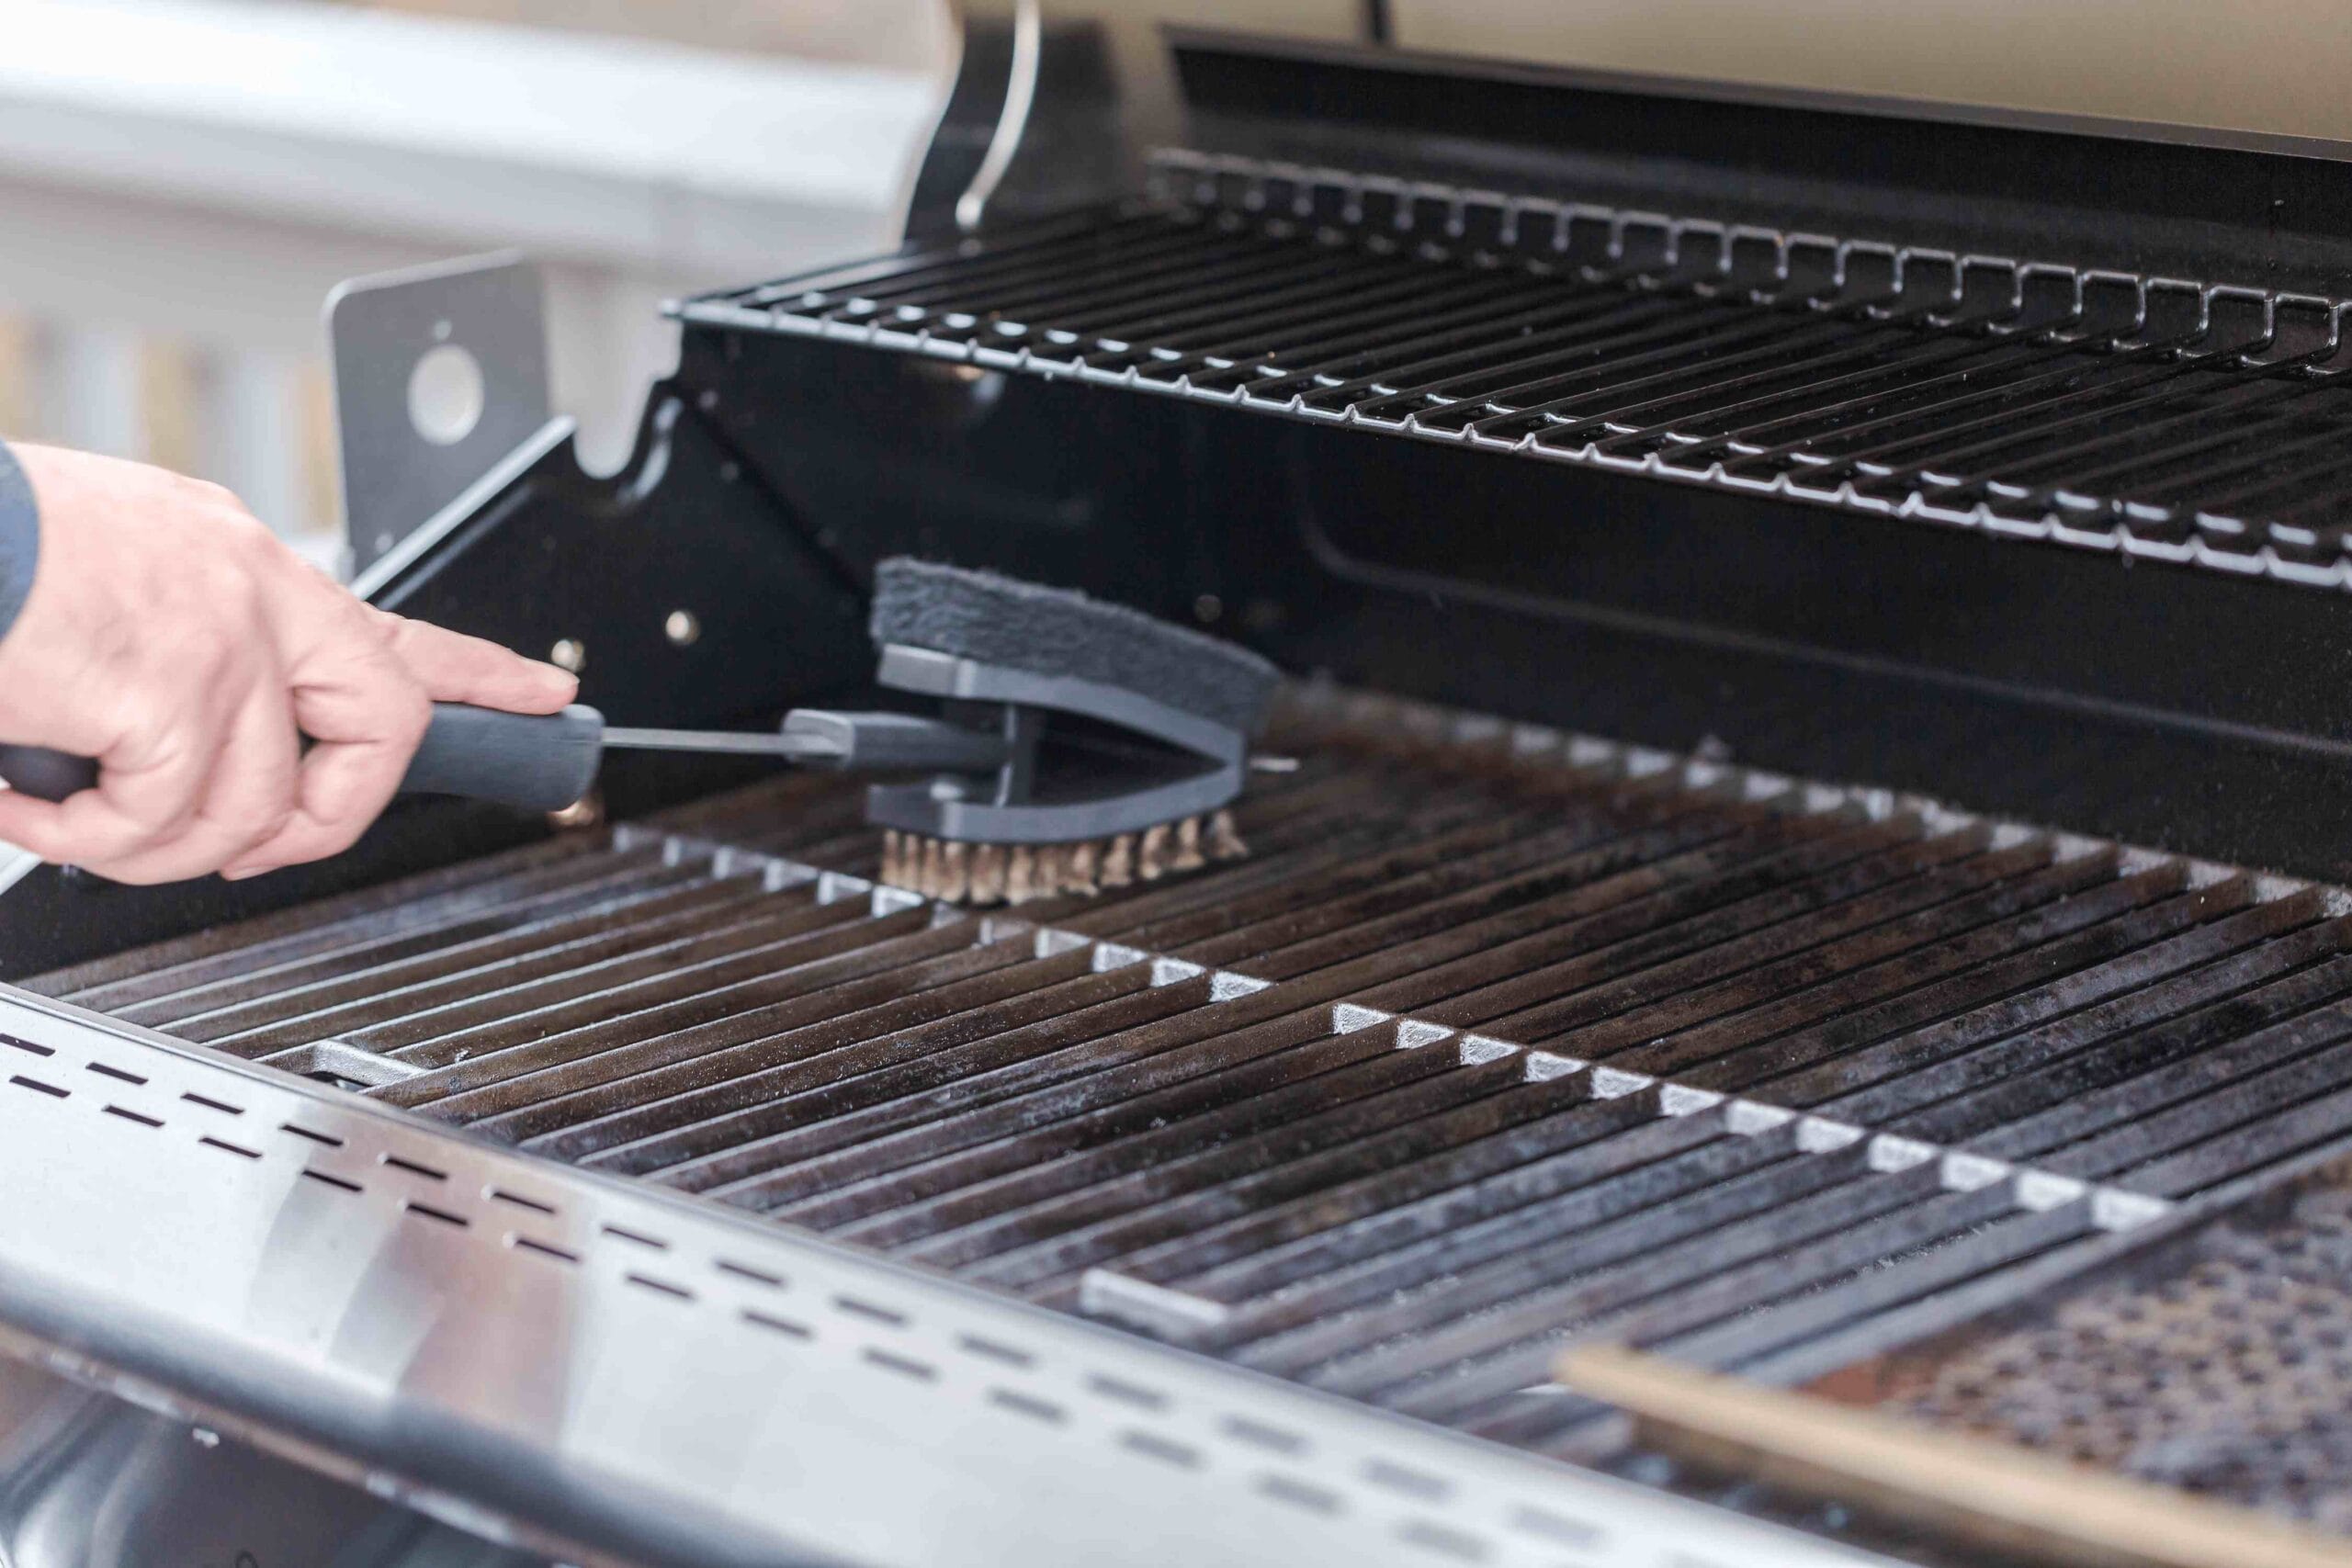
- Scrape Off Debris: Use a grill brush or aluminum foil to scrape off charred bits and residue from the grates.
- Soak the Grates: For stubborn grease, soak the grates in warm, soapy water for 15-30 minutes.
- Scrub with a Sponge: After soaking, scrub the grates with a sponge or soft-bristle brush to remove remaining grime.
- Rinse and Dry: Rinse the grates thoroughly and dry them to prevent rust.
Step 3 – Addressing Burners (Gas Grills)
Burners are prone to clogs that can cause uneven heating.
- Inspect Burner Tubes: Check for clogs in the burner holes and use a toothpick or small wire to clear any blockages.
- Clean the Burners: Wipe down the burners with a damp cloth to remove grease and debris. Avoid soaking gas components in water.
- Check Connections: Inspect gas connections for any signs of wear or leaks.
Step 4 – Cleaning the Drip Tray
The drip tray collects grease and can quickly become a source of unpleasant odors if neglected.
- Dispose of Grease: Empty the drip tray into a disposable container to avoid clogging drains.
- Scrub the Tray: Use soapy water or a degreaser to clean the tray thoroughly.
- Rinse and Dry: Rinse the tray and ensure it’s completely dry before reinserting it.
Discover expert advice on preparing shrimp for the grill.
Step 5 – Cleaning the Interior
The interior of the grill can accumulate grease splatters and ash over time.
- Scrape the Interior Walls: Use a scraper or brush to remove grease and carbon buildup from the walls and lid.
- Vacuum Ash (Charcoal and Pellet Grills): Use a shop vacuum to remove ash and debris from the bottom of the grill.
- Wipe with a Damp Cloth: Finish by wiping the interior with a damp cloth to remove any lingering residue.
Step 6 – Cleaning the Exterior
The grill’s exterior can collect dirt, grease, and weather-related debris.
- Wipe Down Surfaces: Use a damp cloth with soapy water to clean the exterior.
- Polish Stainless Steel: For stainless steel grills, use a specialized polish to restore shine and remove streaks.
- Inspect Knobs and Handles: Clean control knobs and handles thoroughly, as they often harbor grease.
Step 7 – Reassemble the Grill
Once all components are clean and dry, reassemble the grill.
- Replace Grates and Drip Tray: Ensure all parts are securely in place before use.
- Test Functionality: For gas grills, turn the grill on to check burner functionality and ensure no clogs remain.
This step-by-step process ensures your grill is not only clean but also safe and ready for your next culinary adventure.
Tips for Deep Cleaning
Regular cleaning is essential, but deep cleaning your grill periodically ensures it remains in peak condition. Deep cleaning tackles stubborn grease, burnt-on food, and rust that may accumulate over time. Below are some expert-recommended tips:
Removing Stubborn Grease
Grease can solidify and become challenging to remove if left unattended.
- Use a Degreaser: Apply a grill-specific degreaser to problem areas and let it sit for a few minutes before scrubbing.
- Steam Cleaning: Heat a bowl of water on the grill and close the lid. The steam will loosen grease, making it easier to wipe away.
- Baking Soda Paste: Mix baking soda with water to form a paste, apply it to greasy spots, and scrub gently with a soft brush.
Soaking Grates for Maximum Effectiveness
When scrubbing doesn’t suffice, soaking grates can help break down tough residue.
- Soapy Water Bath: Fill a large basin with warm, soapy water and submerge the grates for 30–60 minutes.
- Vinegar and Baking Soda Solution: For heavily soiled grates, add a cup of vinegar and a few tablespoons of baking soda to the soak. This combination effectively cuts through grease.
- Scrub and Rinse: After soaking, use a grill brush or sponge to remove any remaining debris, then rinse thoroughly.
Dealing with Rust and Burnt-On Food
Rust and burnt-on food can ruin your grill’s appearance and performance if not addressed.
- Removing Rust: Use a wire brush or steel wool to scrub away rust. For tough spots, apply a mixture of vinegar and salt, let it sit overnight, and scrub it off the next day.
- Cleaning Burnt Residue: Heat the grill to loosen residue, then use a scraper to remove it. For additional cleaning, use a pumice stone designed for grills.
- Preventing Rust: Always dry components thoroughly after cleaning and consider applying a thin layer of vegetable oil to grates to create a rust-resistant coating.
Post-Cleaning Maintenance
After cleaning, proper maintenance can extend the life of your grill and keep it functioning optimally.
Seasoning Grates
Seasoning prevents food from sticking and protects against rust.
- Apply Oil: Use a paper towel or brush to apply a thin layer of high-heat cooking oil (like canola or grapeseed) to the grates.
- Heat the Grill: Turn the grill on high for 15–20 minutes to allow the oil to bond with the surface.
Regular Maintenance Tips
Incorporating small habits into your routine can minimize buildup and make future cleanings easier.
- Clean After Each Use: Scrape grates while the grill is still warm to remove food residue.
- Empty Drip Trays Frequently: Dispose of grease after every use to avoid buildup and odors.
- Inspect for Wear and Tear: Regularly check burners, hoses, and seals for signs of damage and replace them as needed.
Storing Your Grill
Proper storage protects your grill from the elements, especially during off-seasons.
- Use a Cover: Invest in a weather-resistant grill cover to shield it from rain, snow, and UV damage.
- Store Indoors: If possible, store your grill in a garage or shed to prevent exposure to harsh weather.
- Clean Before Storage: Deep clean your grill before storing it to prevent grease from hardening or attracting pests.
With these tips, your grill will stay clean, functional, and ready for any grilling occasion.
Safety Tips While Cleaning a Grill
Grill cleaning involves hot surfaces, grease, and sometimes chemicals, making safety precautions essential. Below are some key safety guidelines:
Handling Hot Surfaces
- Cool Down Before Cleaning: Always let the grill cool to a safe temperature before starting to clean. Cleaning a hot grill can result in burns or accidents.
- Use Heat-Resistant Gloves: If you need to clean a warm grill for grease removal, wear heat-resistant gloves to protect your hands.
- Avoid Flammable Liquids: Never use flammable cleaning solutions near a hot grill to prevent fire hazards.
Avoiding Harmful Chemicals
- Choose Food-Safe Products: Use cleaning products that are non-toxic and safe for surfaces that come into contact with food.
- Rinse Thoroughly: Ensure all residues from soaps or degreasers are completely rinsed off to avoid contaminating your food.
- Ventilate Properly: If using strong cleaning agents, clean in a well-ventilated area or outdoors to avoid inhaling fumes.
Preventing Accidents
- Secure the Grill: Make sure the grill is stable and won’t tip over during cleaning.
- Dispose of Ashes Properly: For charcoal grills, ensure ashes are completely cool before disposing of them to prevent fires.
- Inspect for Gas Leaks: When cleaning gas grills, check hoses and connections for leaks or damage after reassembling.
DIY Cleaning Solutions
Homemade cleaning solutions are effective, affordable, and eco-friendly alternatives to commercial products. Here are some popular options:
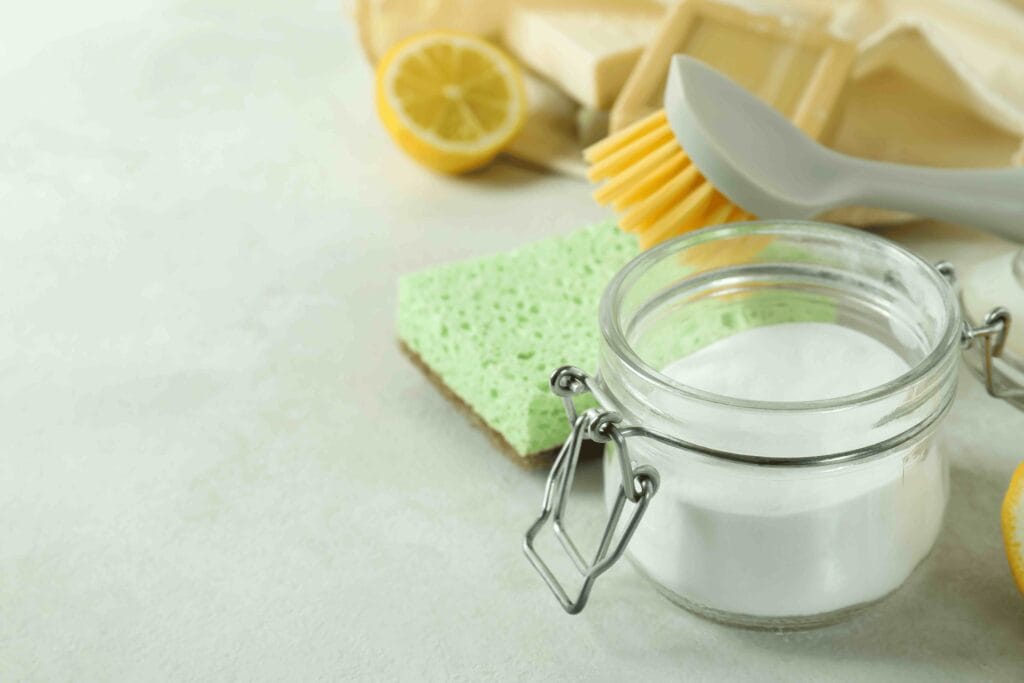
Vinegar and Water
- Mixing the Solution: Combine equal parts of white vinegar and water in a spray bottle.
- Application: Spray the solution onto grates and let it sit for 10–15 minutes before scrubbing with a brush.
- Effectiveness: Vinegar’s natural acidity cuts through grease and eliminates odors.
Baking Soda Paste
- Preparation: Mix baking soda with a small amount of water to form a thick paste.
- Usage: Apply the paste to stubborn spots on grates or interior surfaces, let it sit for 15 minutes, then scrub with a sponge.
- Benefits: Baking soda is a gentle abrasive that removes grime without damaging surfaces.
Lemon Juice and Salt
- Combination: Mix lemon juice with coarse salt to create a scrub.
- Application: Use the mixture to scrub greasy areas or rust spots.
- Advantages: The citric acid in lemons dissolves grease, while the salt acts as an abrasive.
Steam Cleaning
- Method: Place a bowl of water on the grill, turn it on, and let the water steam for 15 minutes with the lid closed.
- Afterward: Turn off the grill, allow it to cool slightly, and wipe down interior surfaces with a damp cloth.
- Purpose: Steam loosens grease and grime, making it easier to clean without chemicals.
Common Mistakes to Avoid
Cleaning a grill incorrectly can cause damage or make the process harder. Here are some pitfalls to watch out for:
Over-Scrubbing the Grates
- Why It’s a Problem: Aggressive scrubbing can damage the grates’ protective coating, leading to rust.
- Solution: Use gentle pressure with a grill brush or sponge, especially for porcelain-coated grates.
Using the Wrong Tools
- Example: Wire brushes with loose bristles can leave debris behind, which may contaminate food.
- Tip: Opt for bristle-free grill brushes or high-quality tools to ensure safety and effectiveness.
Ignoring Critical Components
- Mistake: Neglecting the drip tray, burner tubes, or ash catcher can lead to grease fires and poor grill performance.
- Fix: Always clean these areas during routine maintenance to avoid costly repairs.
Forgetting to Dry Components
- Consequence: Leaving parts wet after cleaning encourages rust and corrosion.
- Solution: Dry all parts thoroughly and store the grill properly to prevent damage.
FAQs on Cleaning Grills
Below are answers to frequently asked questions to help clarify common concerns about grill cleaning:
Are You Supposed to Clean the Inside of a Gas Grill?
Yes, cleaning the inside of a gas grill is essential to maintain its performance and longevity.
- Why It’s Important: Grease, food particles, and carbon buildup can accumulate on the burners and interior walls, leading to uneven heating, flare-ups, or even fires.
- How to Clean: Remove grates and scrape the interior walls and burner covers with a grill scraper or brush. Wipe away debris with a damp cloth, and check for clogs in the burners.
- Frequency: Clean the inside every few uses for light grilling, and perform a deep clean at least once a month for frequent usage.
Can I Hose Down My Grill?
Yes, you can hose down certain parts of your grill, but with caution.
- Best Practices:
- Ensure the grill is completely cool and disconnected from any power or gas source.
- Remove grates, drip trays, and other detachable parts for hosing. Avoid directly spraying burners or electric components to prevent damage.
- Drying Tip: After hosing, dry all parts thoroughly to prevent rust or water damage. A clean microfiber cloth or towel works well for this step.
- Avoid: Hosing down pellet or electric grills, as water can damage the internal mechanisms.
What Is the Best Way to Clean a Grill?
The best way to clean a grill involves regular maintenance and deep cleaning techniques.
- Regular Cleaning:
- After each use, brush the grates with a grill brush to remove food residue.
- Empty the drip tray and dispose of grease.
- Deep Cleaning Steps:
- Soak grates in soapy water to loosen grease and grime.
- Use a scraper to clean the interior walls and a degreaser for tough spots.
- Wipe down the exterior with soapy water and polish stainless steel surfaces if applicable.
- Key Tip: Always dry components thoroughly and season grates with cooking oil to prevent rust.
What Is the Cleanest Grilling Method?
The cleanest grilling method involves using techniques and tools that minimize mess and residue.
- Using Grill Mats: Non-stick grill mats or sheets prevent food from sticking and keep grease from dripping onto the burners or coals.
- Cooking with Foil: Wrapping food in aluminum foil not only locks in flavor but also prevents drippings from dirtying the grill.
- Maintaining a Clean Grill: Start with a pre-cleaned grill. Cooking on a clean surface ensures better results and reduces post-grill cleaning time.
- Opting for Gas or Electric Grills: Gas and electric grills generally produce less ash and residue compared to charcoal grills, making cleanup easier.
Conclusion
A clean grill is the key to enjoyable, safe, and efficient outdoor cooking. Regular cleaning not only improves the flavor of your food but also extends the life of your grill and minimizes health risks associated with grease buildup and burnt residue. Whether you own a gas, charcoal, pellet, or electric grill, following proper cleaning techniques and maintenance practices ensures optimal performance and longevity.
By understanding the nuances of your grill type, using the right tools, and incorporating effective cleaning methods, you can keep your grill in top condition year-round. Adopting safe practices, avoiding common mistakes, and utilizing eco-friendly solutions further enhances the grilling experience while protecting the environment.
Make grill cleaning a regular part of your routine, and you’ll be rewarded with flavorful meals and a reliable cooking companion for years to come. Your grill, and your taste buds, will thank you!

