What is the Easiest Way to Decorate Cookies?
Cookie decoration is an art that brings joy and creativity into the kitchen. Whether you’re preparing treats for a special event or simply looking for a fun activity, decorating cookies can be as simple or intricate as you’d like. While elaborate designs may seem intimidating, there are plenty of beginner-friendly methods that yield stunning results.
In this guide, we’ll explore the easiest ways to decorate cookies, focusing on tools, techniques, and tips that will help you create delightful treats with minimal effort. From icing and fondant to stencils and toppers, discover how to turn plain cookies into edible masterpieces without stress. So, let’s dive into the world of cookie decoration and uncover how to make it fun, accessible, and downright enjoyable!
Why Decorate Cookies?
Decorating cookies isn’t just about adding visual appeal; it’s a creative outlet and a way to bring people together. Whether you’re a beginner trying your hand at simple designs or an experienced baker crafting intricate details, decorated cookies are a treat for both the eyes and taste buds.
The Joy of Cookie Decoration
One of the most rewarding aspects of decorating cookies is the ability to express your creativity. From playful shapes and colors to intricate designs, cookie decoration allows you to personalize each treat according to the occasion. The process is not only therapeutic but also a fun activity to share with family and friends.
Decorated cookies are also a thoughtful way to show care. Personalized designs or themes tailored to someone’s preferences can make cookies a memorable gift. Birthdays, anniversaries, and holidays are just a few examples of occasions where beautifully decorated cookies add a special touch.
Occasions That Call for Decorated Cookies
Decorated cookies can elevate almost any event. Here are some popular occasions where cookie decoration shines:
- Holidays: Christmas, Easter, Halloween, and Valentine’s Day are perfect opportunities to showcase themed cookie designs. Think snowflakes, bunnies, ghosts, or hearts.
- Weddings and Showers: Elegant designs such as monograms, floral patterns, and pastel hues are a hit at weddings, baby showers, and bridal showers.
- Birthdays: Cookies in the shapes of numbers, cartoon characters, or birthday themes make for eye-catching party treats.
- Corporate Events: Custom logos or branded designs turn cookies into professional gifts or promotional items.
- Everyday Celebrations: Even a casual gathering becomes more festive with a tray of colorful, decorated cookies.
Decorating cookies also provides a great opportunity to involve children. Simple designs and tools make the process fun for kids, fostering creativity and teamwork. Whether it’s a family tradition or a one-time activity, cookie decoration has a way of making lasting memories.
Essential Tools for Cookie Decoration
To decorate cookies easily and efficiently, having the right tools is essential. The good news is, you don’t need an elaborate setup to get started! Let’s explore the basic tools every beginner should have, as well as optional items for more advanced designs.
Must-Have Tools for Beginners
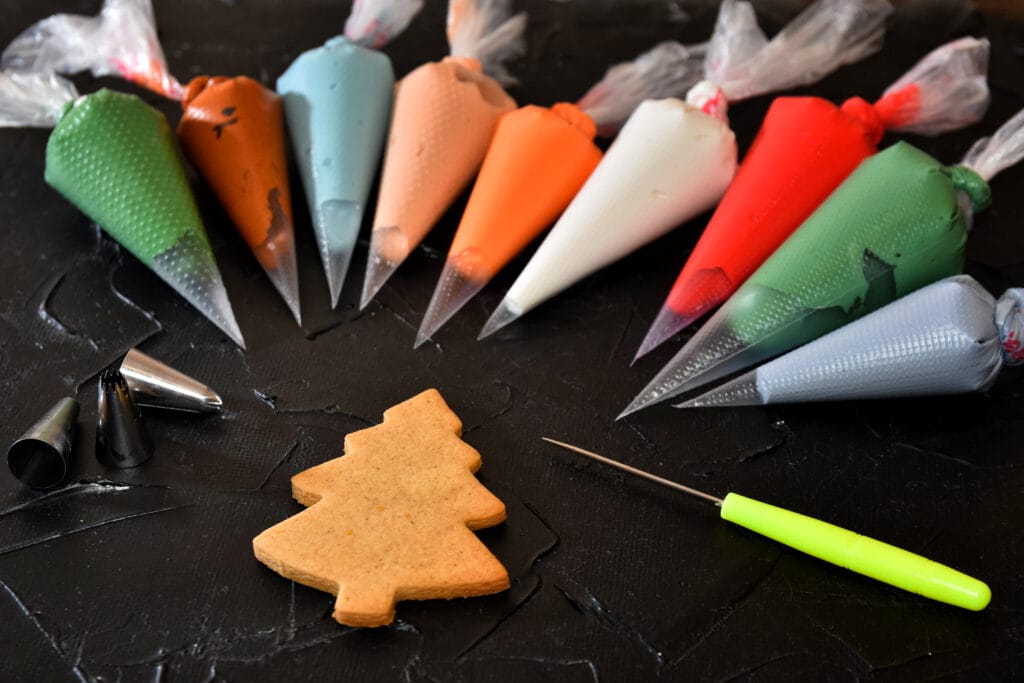
- Piping Bags and Tips: These are fundamental for applying icing in neat lines, dots, or more elaborate shapes. Disposable bags are convenient, while reusable ones are environmentally friendly.
- Icing Spatulas or Knives: These are great for spreading icing smoothly across cookies. Offset spatulas work particularly well for precise application.
- Food Coloring: Gel-based food coloring is the most popular choice because it provides vibrant colors without altering the icing consistency.
- Mixing Bowls and Spoons: Essential for mixing different icing colors or consistencies.
- Cookie Cutters: For creating uniform shapes before decorating.
- Edible Decorations: Sprinkles, edible glitter, and sugar pearls instantly elevate simple designs.
Optional Tools for Advanced Designs
- Stencils: Perfect for creating intricate patterns without the need for freehand drawing.
- Edible Markers: Ideal for writing or drawing fine details directly on cookies.
- Turntable: A spinning surface can make decorating smoother, especially for larger designs.
- Fondant Tools: For those interested in using fondant, tools like rollers, molds, and embossers expand your creative possibilities.
- Airbrush Kit: For adding depth and professional-quality shading to cookies.
Choosing Your Cookie Base
Before diving into decoration, the type of cookie you choose can significantly impact the outcome. Some cookies are better suited for decoration due to their texture, flavor, and ability to hold their shape. Let’s explore the best types of cookies for decorating and how to prepare them.
If you’re looking for creative cookie bases to decorate, explore unique cookie recipes for exciting decoration ideas. From classic sugar cookies to unexpected flavors, these recipes can elevate your designs.
Best Types of Cookies for Decorating
When decorating cookies, it’s important to select varieties that provide a smooth surface and a sturdy structure. Here are some popular options:
- Sugar Cookies: The most versatile option for decoration. Their neutral flavor and smooth texture make them a favorite for icing, fondant, and edible markers.
- Gingerbread Cookies: Ideal for holiday themes. They offer a spiced flavor and are sturdy enough to hold elaborate designs.
- Shortbread Cookies: These buttery treats have a firm structure, making them great for decorating with fondant or edible embellishments.
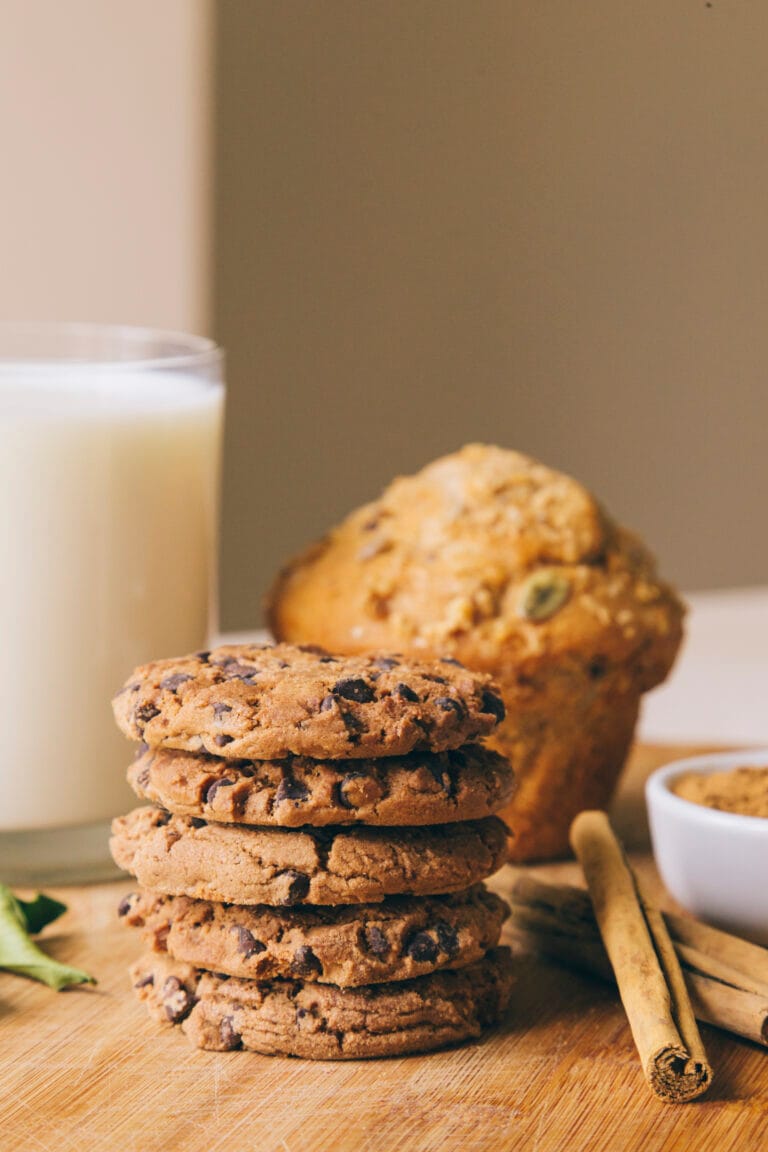
- Chocolate Cookies: Perfect for contrast when decorating with light-colored icings or toppings.
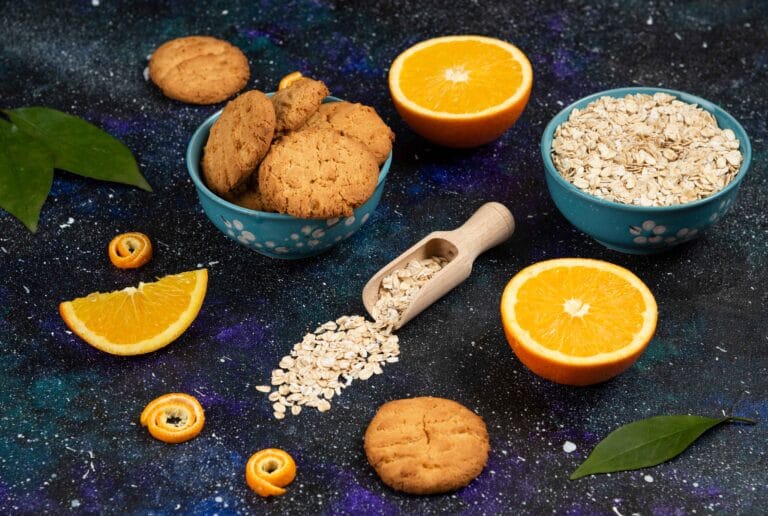
Cookies that are too soft or crumbly may not hold up well under icing or fondant, so it’s best to avoid options like oatmeal or delicate butter cookies unless their texture complements the decoration style.
Preparing Cookies for Decoration
Once you’ve chosen your cookie type, proper preparation ensures a smooth decorating process. Follow these tips to set the stage for success:
- Cool Completely: Always allow cookies to cool fully after baking. Warm cookies can cause icing to melt or slide off.
- Level the Surface: If your cookies puffed up during baking, gently press them with a flat spatula while they’re still warm to create a smoother surface.
- Seal the Surface: For cookies with a porous or crumbly texture, consider brushing them lightly with a sugar syrup or glaze to create a smooth base for icing.
- Uniform Shapes: Use cookie cutters or a knife to trim edges for a clean and consistent look.
Simple Decorating Techniques
For beginners or those short on time, simple techniques can yield stunning results without requiring advanced skills. These methods focus on using basic tools and ingredients to create attractive designs.
Using Icing as the Primary Decoration Method
Icing is one of the easiest and most versatile ways to decorate cookies. Here’s how to approach it:
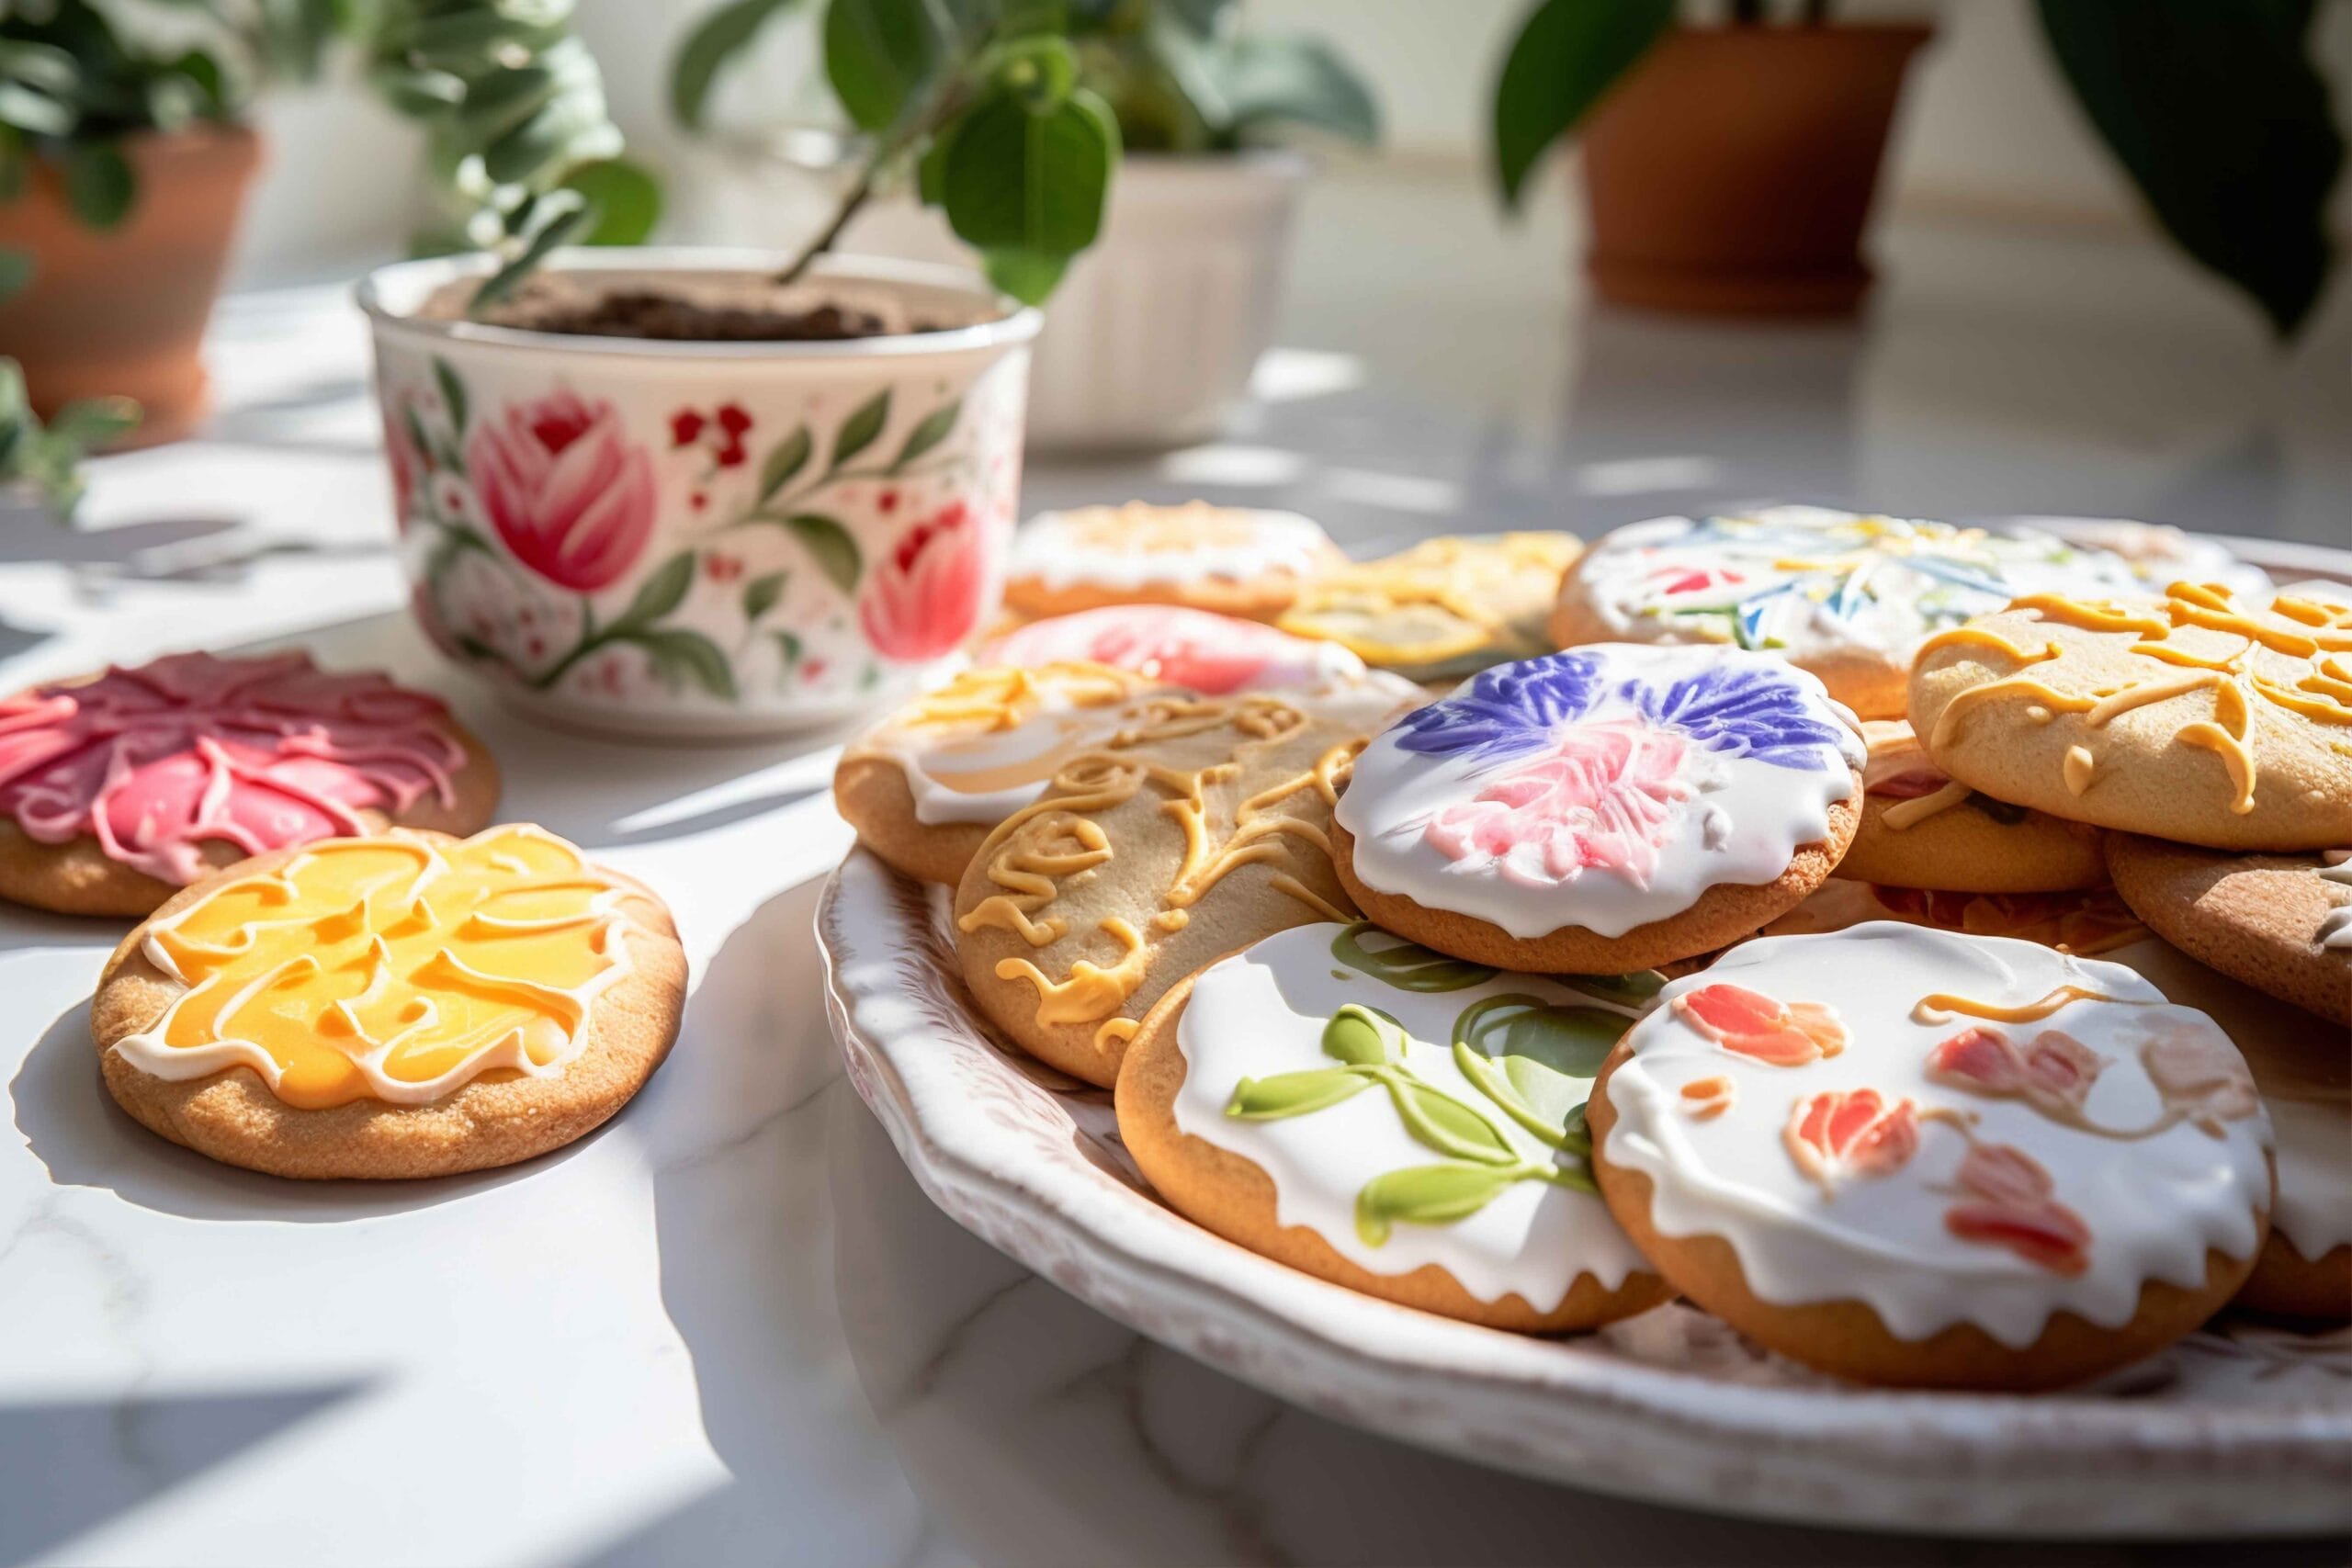
- Flooding Technique: Outline the cookie with a slightly thicker icing and then fill in the center with a thinner icing. This creates a smooth, professional look.
- Piping: Use a piping bag fitted with different tips to create lines, dots, or floral designs. This technique is great for adding intricate details.
- Marbling: Drop dots of different colored icing onto the wet base layer and drag a toothpick through them to create swirls or marbled effects.
Stencils and Edible Sprays
Stencils are an excellent tool for adding quick and clean designs to cookies. Simply place a stencil over your cookie and apply edible spray paint or sift powdered sugar or cocoa over it. This technique is especially useful for creating intricate patterns without needing artistic skills.
Pre-Made Toppers for Quick Decoration
For those looking for the quickest way to decorate cookies, pre-made toppers like edible sugar decorations, themed shapes, or even small candies can be applied directly onto the icing while it’s still wet.
The Magic of Fondant for Beginners
Fondant is a beginner-friendly medium that allows for clean and polished decorations. Simply roll out the fondant, cut it into shapes using the same cookie cutter as your base, and place it on top of the cookie. Fondant can also be embossed with textures or painted with edible colors for added flair.
Easy Recipes for Beginners
Creating your own icing or decorative elements doesn’t have to be complicated. These simple recipes will set you up for success, providing reliable results for decorating cookies with ease. Whether you prefer royal icing, buttercream, or no-bake options, these methods cater to beginners and seasoned bakers alike.
Royal Icing Recipe
Royal icing is a classic choice for cookie decoration due to its smooth finish and versatility. It can be used for outlining, flooding, and intricate designs.
Ingredients:
- 3 cups powdered sugar
- 2 tablespoons meringue powder or 2 egg whites
- 5–6 tablespoons warm water
- Optional: gel food coloring
Instructions:
- In a large bowl, combine the powdered sugar and meringue powder (or egg whites).
- Add the water one tablespoon at a time, mixing with a hand or stand mixer on low speed until combined.
- Increase the speed to medium and beat until the icing forms stiff peaks (around 5 minutes).
- Divide the icing into separate bowls and add gel food coloring as desired.
- Adjust the consistency by adding more water (for flooding) or powdered sugar (for piping).
Royal icing dries quickly, so cover bowls with a damp cloth or plastic wrap when not in use.
Buttercream Icing for Quick Spreadability
Buttercream icing is easier to work with than royal icing and doesn’t require as much precision. It’s perfect for spreading or piping soft designs.
Ingredients:
- 1 cup unsalted butter (softened)
- 4 cups powdered sugar
- 2–3 tablespoons milk or heavy cream
- 1 teaspoon vanilla extract
- Optional: food coloring
Instructions:
- Beat the butter on medium speed until creamy and smooth.
- Gradually add the powdered sugar, one cup at a time, mixing well after each addition.
- Add the milk and vanilla extract, beating until light and fluffy.
- Mix in food coloring if desired, adjusting the consistency with milk for a softer spread or powdered sugar for a stiffer texture.
Buttercream is best for same-day use, as it doesn’t harden like royal icing.
No-Bake Decoration Options
For those who prefer to skip icing altogether, here are no-bake options that are quick and hassle-free:
- Melted Chocolate: Drizzle melted white or dark chocolate over cookies for a sleek look. Add sprinkles or chopped nuts for extra flair.
- Edible Stickers: Pre-made edible images can be adhered to cookies with a light layer of corn syrup or piping gel.
- Candy Coating: Dip cookies in melted candy melts for a colorful and smooth finish.
Tips for Success with Recipes
- Always sift powdered sugar to avoid lumps in icing.
- Use gel food coloring rather than liquid to maintain icing consistency.
- Test the consistency of icing on parchment paper before applying it to cookies.
Step-by-Step Guide to Decorating Cookies
Decorating cookies can be simple and enjoyable when approached step-by-step. By organizing your workspace, mastering basic techniques, and experimenting with colors and textures, you’ll create stunning cookies with ease. Here’s how to do it.
Preparing Your Workspace
A well-prepared workspace makes the decorating process smoother and more enjoyable. Follow these steps to set up:
- Clean Your Surface: Ensure your workspace is free of crumbs, grease, and dust. Use a large, flat surface for laying out cookies and tools.
- Organize Your Tools: Arrange piping bags, tips, spatulas, and bowls within arm’s reach. Use small containers for sprinkles, edible decorations, and food coloring.
- Protect Your Area: Lay down parchment paper or a silicone mat to catch spills and drips, making cleanup easier.
- Prepare Your Cookies: Ensure your cookies are completely cool and level. Lay them out on a tray or rack for easy access.
Basic Piping Techniques
Piping is a fundamental skill for cookie decoration. Here’s how to master the basics:
- Filling the Bag: Fit your piping bag with a tip of your choice and fill it halfway with icing to prevent overflow. Twist the top of the bag tightly to secure it.
- Practicing Control: Practice on parchment paper before decorating cookies. Squeeze gently and consistently for smooth lines or dots.
- Outlining Cookies: Start by outlining the edges of the cookie with a slightly thicker icing. This acts as a barrier for flooding.
- Adding Details: Use smaller piping tips for intricate designs, such as flowers, letters, or borders.
Pro Tip: If you’re new to piping, use a coupler to easily switch between tips without emptying the bag.
Using Colors and Layering Techniques
Color and layering bring dimension and creativity to your cookies. Here are some beginner-friendly techniques:
- Color Blocking: Divide your cookie into sections and decorate each with a different color of icing. This method is great for geometric or modern designs.
- Wet-on-Wet Technique: While the base icing is still wet, add dots or lines of a contrasting color. Drag a toothpick through the colors to create marbling, hearts, or other patterns.
- Layering: Allow each layer of icing to dry before adding additional designs or decorations. This technique is perfect for creating 3D effects.
Quick Decorating Hacks
If you’re short on time or experience, these hacks will help you achieve professional-looking results:
- Use Stencils: Lay a stencil over your cookie and dust it with powdered sugar, cocoa powder, or edible shimmer for an instant design.
- Apply Toppers: Press edible decorations, sprinkles, or candy into the wet icing for a quick pop of color.
- Dip and Drizzle: Dip cookies into icing or melted chocolate for an even coating, then drizzle contrasting colors over the top.
Finishing Touches
Small details make a big impact. Consider these ideas:
- Edible Glitter: A light sprinkle of glitter adds sparkle and charm.
- Piping Borders: Frame your cookie with a simple border to tie the design together.
- Personalization: Write names or messages on cookies using an edible marker or fine piping tip.
Common Mistakes and How to Avoid Them
Decorating cookies can be a fun and rewarding experience, but even seasoned decorators encounter challenges. Understanding common pitfalls and how to address them will help you achieve beautiful results with less frustration.
Overloading Icing on Cookies
A common mistake is applying too much icing, which can cause cookies to look messy or take too long to dry.
How to Avoid:
- Use piping bags with smaller openings for controlled application.
- Apply icing in thin, even layers for a polished appearance.
- Allow each layer to dry before adding more icing to avoid pooling or running.
Fixing Smudged or Misaligned Designs
Smudging often happens when icing isn’t fully dry or when decorations are handled too soon. Misaligned designs can occur if stencils or guides shift during application.
How to Avoid:
- Drying Time: Allow at least 4–6 hours for royal icing to set before handling. For intricate designs, let them dry overnight.
- Stencil Stability: Secure stencils with clips or gently press them down while applying decoration.
- Touch-Ups: For smudges, wait until the icing is dry, then scrape off imperfections with a toothpick and reapply icing carefully.
Tips for Proper Icing Consistency
Inconsistent icing texture is one of the most common frustrations in cookie decoration. Icing that’s too thick won’t flow smoothly, while overly thin icing may run off the cookie.
How to Avoid:
- Test Consistency: Before decorating, test icing on parchment paper. It should hold its shape but flow smoothly when spread.
- Adjusting Thickness: Add small amounts of water to thin icing or powdered sugar to thicken it.
- Separate Consistencies: Use thicker icing for outlines and thinner icing for flooding.
Using the Wrong Tools
Improvised tools or unsuitable materials can make decorating more difficult. For example, plastic bags may tear, or dull piping tips may result in uneven designs.
How to Avoid:
- Invest in basic, quality tools like reusable piping bags and stainless-steel tips.
- Replace worn-out tools promptly to maintain precision.
- If using disposable bags, opt for heavy-duty ones designed for decorating.
Not Allowing for Drying Space
A lack of space for cookies to dry can lead to smudging or stacking mishaps.
How to Avoid:
- Set up a dedicated drying rack or trays for decorated cookies.
- Ensure cookies are spaced apart to allow air circulation and prevent them from touching each other.
How to Store Decorated Cookies
Storing decorated cookies properly ensures they remain fresh and visually appealing. Here’s how to do it:
Storing Freshly Decorated Cookies
- Let Icing Set Fully: Before storing, ensure icing is completely dry to avoid sticking or smudging.
- Use Airtight Containers: Store cookies in airtight containers to keep them fresh and maintain their texture.
- Separate Layers: Place wax paper between cookie layers to prevent designs from getting damaged.
Packing for Gifting and Events
- Individually Wrapped: Wrap each cookie in clear cellophane bags for a professional touch. Add a ribbon for extra flair.
- Cookie Boxes: Use sturdy boxes with dividers to protect cookies during transport.
- Temperature Considerations: Avoid storing cookies in humid or hot environments, as icing may soften or colors may bleed.
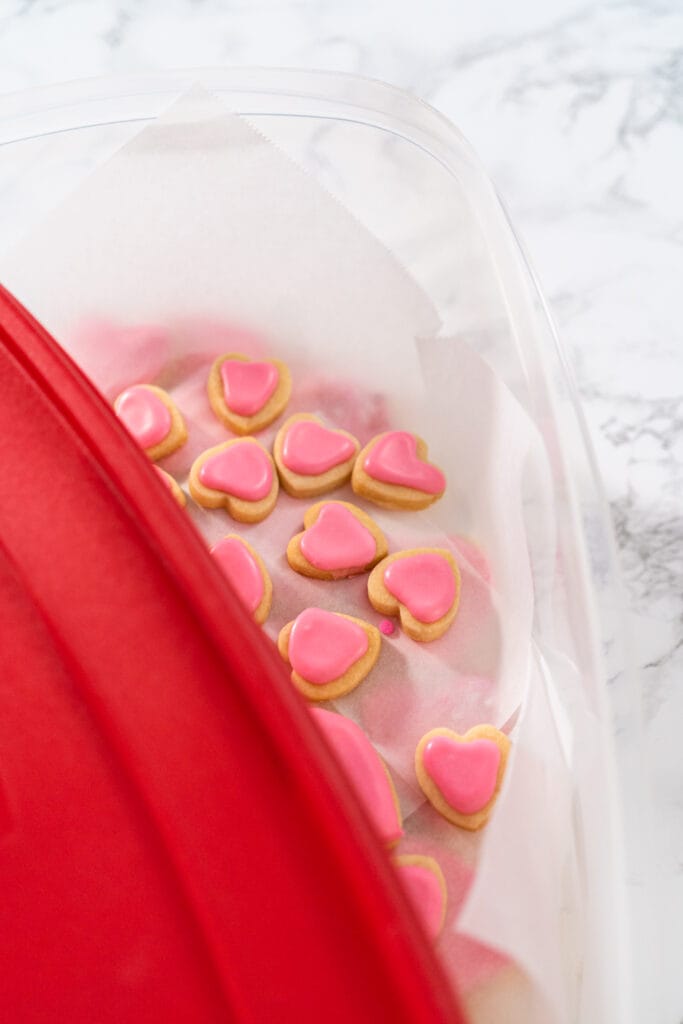
To keep your decorated cookies fresh and beautiful, learn about the best containers for storing cookies. Choosing the right container ensures that your cookies stay delicious and visually appealing.
When selecting a storage option, find out the best materials for cookie jars to enhance freshness and style.
For long-term storage, discover if glass cookie jars keep cookies fresh and maintain their original flavor and texture.
Tips for Decorating Cookies with Kids
Decorating cookies with kids is a delightful activity, but it requires a slightly different approach to ensure fun and success.
Fun Activities for Kids
- Simple Shapes: Use cookie cutters with easy-to-decorate shapes like circles, stars, or hearts.
- Interactive Toppings: Provide bowls of sprinkles, edible markers, and candy decorations for kids to explore their creativity.
- Themed Decorations: Plan designs around holidays, birthdays, or favorite characters to make the activity more engaging.
Kid-Friendly Tools and Techniques
- Plastic Tools: Use child-safe, non-sharp tools for spreading and piping icing.
- Easy Piping Bags: Pre-fill piping bags and secure them with rubber bands to prevent spills.
- Supervise Handling: Guide children on how to hold and use tools properly to avoid messes or frustration.
Frequently Asked Questions
What do professionals use to decorate cookies?
Professionals use a variety of tools and materials for cookie decoration, including piping bags with fine tips for precision, airbrush kits for shading, edible markers for detailed designs, and stencils for uniform patterns. They also rely on high-quality royal icing and gel food coloring to achieve vibrant, long-lasting designs.
How to decorate cookies without piping tips?
You can decorate cookies without piping tips by using alternatives like zip-top bags with a small corner snipped off, toothpicks for fine details, or small spatulas for spreading icing. Pre-made edible decorations, stencils, and sprinkles are also excellent options for adding flair without the need for piping tips.
How to get decorations to stick to cookies?
To make decorations stick, apply them to wet icing or melted chocolate. For non-icing surfaces, use a thin layer of edible adhesive like piping gel, corn syrup, or a small dab of royal icing. Press decorations gently onto the surface to secure them in place.
What tips are best for cookie decorating?
For beginners, start with basic round tips (#1 or #2) for outlining and flooding. Leaf tips (#67) and star tips (#13 or #16) are great for creating textures and patterns. Professionals often use specialty tips for intricate designs, such as petal tips for flowers or basket weave tips for textured patterns.
Conclusion
Decorating cookies can be as easy or elaborate as you make it. With the right tools, techniques, and a bit of creativity, even beginners can achieve stunning results. Whether you’re preparing for a special event or simply enjoying a fun activity, cookie decoration offers endless possibilities to express yourself and delight others. Happy decorating!
